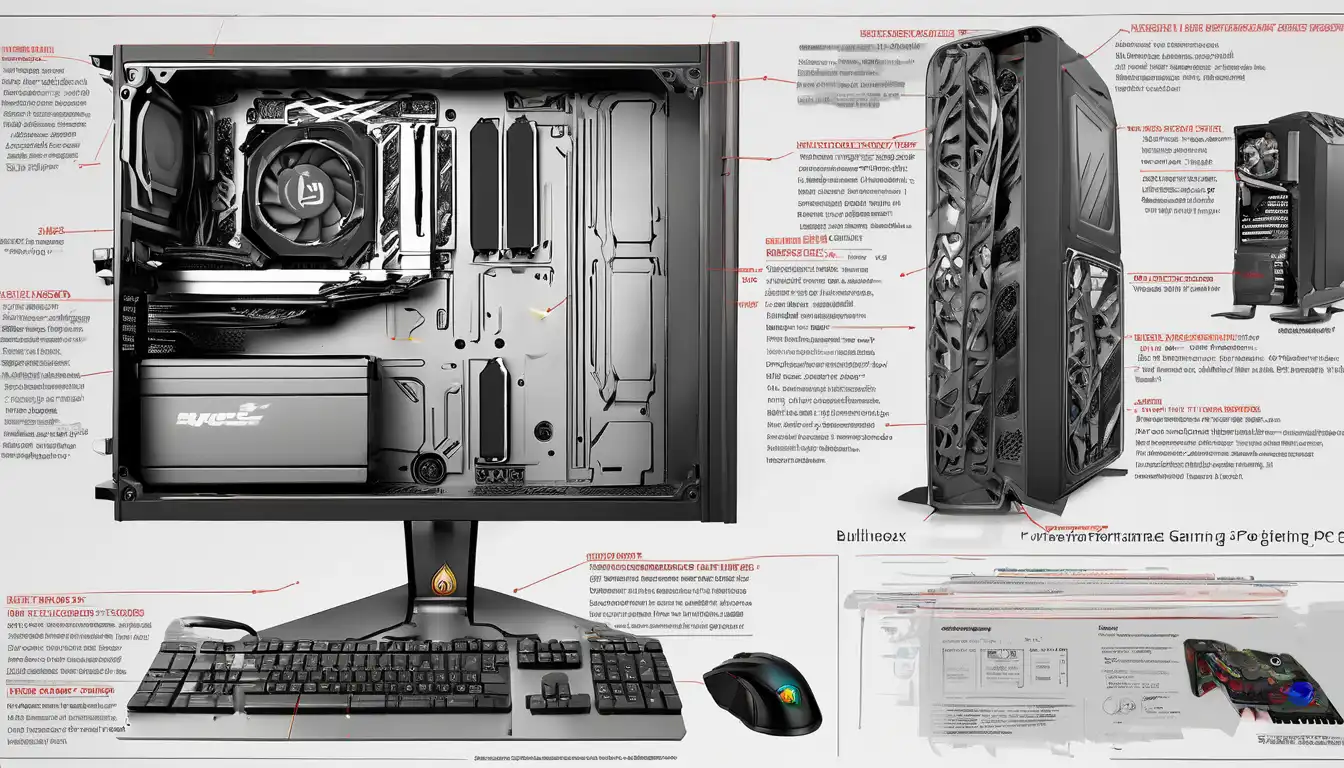
Introduction to High-Performance Gaming PC Construction
Building a high-performance gaming PC represents one of the most rewarding experiences for any gaming enthusiast. Unlike pre-built systems, custom-built computers offer unparalleled flexibility, superior performance optimization, and significant cost savings. This comprehensive guide will walk you through every step of creating your dream gaming rig, from component selection to final assembly and optimization.
Essential Components for Your Gaming PC
Central Processing Unit (CPU)
The CPU serves as the brain of your gaming computer, handling all computational tasks. For modern gaming, we recommend processors with at least 6 cores and 12 threads. Intel's Core i5/i7/i9 series and AMD's Ryzen 5/7/9 processors offer excellent gaming performance. Consider your budget and gaming requirements when selecting between these options.
Graphics Processing Unit (GPU)
Your graphics card is arguably the most critical component for gaming performance. NVIDIA's RTX 30/40 series and AMD's RX 6000/7000 series provide exceptional gaming capabilities. When choosing a GPU, consider your target resolution (1080p, 1440p, or 4K) and desired frame rates. Higher-end cards deliver better performance but come at a premium price.
Motherboard Selection
The motherboard acts as the foundation connecting all your components. Key considerations include chipset compatibility with your CPU, sufficient PCIe slots for expansion, adequate USB ports, and support for modern features like PCIe 4.0/5.0. Ensure your motherboard matches your CPU's socket type and supports your desired RAM speed.
Memory (RAM)
For modern gaming, 16GB of DDR4 or DDR5 RAM represents the sweet spot, though 32GB provides future-proofing. Opt for dual-channel configurations (2x8GB or 2x16GB) for optimal performance. Higher frequency RAM (3200MHz+) can provide slight performance improvements in CPU-intensive games.
Storage Solutions
Combine NVMe SSD storage for your operating system and games with larger HDD storage for media files. A 500GB-1TB NVMe SSD ensures fast boot times and quick game loading, while a 2TB+ HDD offers affordable mass storage. Consider PCIe 4.0 SSDs for maximum performance if your motherboard supports them.
Power Supply Unit (PSU)
Never compromise on your power supply quality. Choose a reputable brand with at least 80 Plus Bronze certification. Calculate your system's power requirements and add 100-200W headroom for future upgrades. Modular PSUs simplify cable management and improve airflow within your case.
Computer Case
Select a case that accommodates your motherboard size (ATX, micro-ATX, or mini-ITX) and provides adequate airflow. Features to consider include front mesh panels, included fans, cable management space, and compatibility with your chosen components. Good airflow is crucial for maintaining optimal temperatures during extended gaming sessions.
Step-by-Step Assembly Process
Preparation and Safety
Begin by preparing your workspace with adequate lighting and a non-static surface. Use an anti-static wrist strap to prevent electrostatic discharge damage to sensitive components. Gather all necessary tools, including Phillips head screwdrivers, cable ties, and thermal paste.
Motherboard Installation
Install your CPU, RAM, and M.2 SSD onto the motherboard before placing it in the case. Apply thermal paste to the CPU (if not pre-applied) and mount the CPU cooler. Carefully align the motherboard with standoffs in the case and secure it with screws.
Power Supply and Storage
Install your power supply in its designated compartment, routing cables through appropriate openings. Mount your storage drives in their respective bays, connecting SATA data and power cables as needed.
Graphics Card Installation
Remove the appropriate PCIe slot covers from your case and firmly insert the graphics card into the primary PCIe x16 slot. Secure the card with screws and connect the necessary power cables from your PSU.
Cable Management
Proper cable management improves airflow and aesthetics. Route cables behind the motherboard tray where possible, using cable ties to secure them. Ensure no cables obstruct fan movement or contact hot components.
Final Connections and Testing
Connect front panel headers, USB ports, and audio jacks according to your motherboard manual. Double-check all power connections before performing an initial power-on test outside the case. If successful, complete the assembly and install your operating system.
Optimization and Performance Tuning
BIOS/UEFI Configuration
Access your motherboard's BIOS/UEFI to enable XMP/DOCP profiles for optimal RAM performance. Configure fan curves for efficient cooling and ensure all components are recognized correctly. Update to the latest BIOS version for improved stability and compatibility.
Driver Installation
Install latest drivers for your graphics card, chipset, and other components from manufacturer websites. Use dedicated software like NVIDIA GeForce Experience or AMD Adrenalin for graphics driver management and optimization.
Operating System Optimization
Disable unnecessary startup programs and services to free up system resources. Configure power settings for maximum performance and ensure Windows Game Mode is enabled. Regularly update your operating system for security and performance improvements.
Monitoring and Maintenance
Install monitoring software like HWMonitor or MSI Afterburner to track temperatures and performance. Establish a regular maintenance schedule for cleaning dust filters and reapplying thermal paste annually. Keep your system updated with the latest game-ready drivers and Windows updates.
Common Building Mistakes to Avoid
Avoid these common pitfalls when building your gaming PC: forgetting to install motherboard standoffs, inadequate thermal paste application, improper RAM seating, forgetting to connect CPU power, and poor cable management. Always consult your component manuals and take your time during assembly.
Future Upgrade Considerations
Plan for future upgrades by selecting a motherboard with additional PCIe slots and RAM capacity. Choose a power supply with extra wattage headroom for future component additions. Consider case size and cooling capacity when planning for potential multi-GPU configurations or custom water cooling solutions.
Conclusion
Building a high-performance gaming PC requires careful planning, proper component selection, and meticulous assembly. By following this comprehensive guide, you'll create a system tailored to your specific gaming needs that outperforms pre-built alternatives. Remember that the building process is as rewarding as the final result, providing valuable knowledge and satisfaction. For more detailed information on specific components, check out our gaming CPU selection guide and graphics card comparison article.
